In-camera motion blur is a time intensive and therefore costly effect that usually isn't worth it unless you're working on an expensive production. Re:VisionFX Reel Smart Motion Blur or RSMB is a great way to cut out the time of rendering in-camera motion blur so you can just do it in post. There are a few important things to know to get it working properly.
Since I couldn't find a simple aggregated spot for all of this information and struggled with something I didn't see an answer for, I wanted to share my information with others in the same boat.
RSMB - Automatic Motion Blur
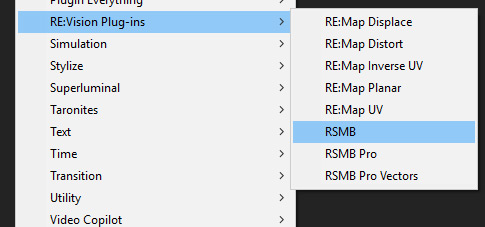
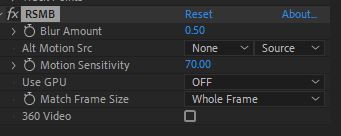
The first of three options. This one is automatic and uses calculations to essentially guess at the motion blur per-frame by looking at the frame before and after it. This is the simplest, and is good for general use. This version will have issues if things move in different directions at the same time. It's better for camera movement as opposed to object movement, as a general rule. The interface is fairly simple and straightforward. I'd recommend turning on Use GPU if possible, it's dramatically faster.
RSMB Pro - Guided Automatic Motion Blur
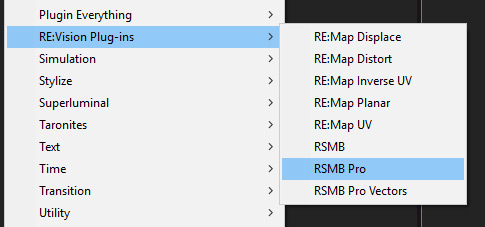
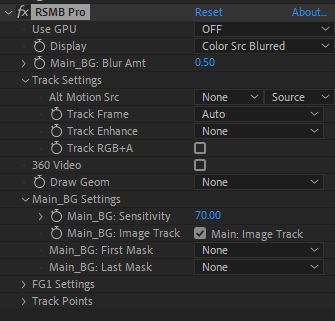
Option two behaves similar to option 1, but has more control.
Pro has the most elaborate interface. The most useful thing here I feel is the ability to use an Alt Motion Source as a secondary image to help guide the automatic blur. An example of this would be to use the Z-depth pass from VRay to help guide the automatic blur. I honestly have never bothered with or needed the other parameters.
RSMB Pro Vectors - Guided Automatic Motion Blur
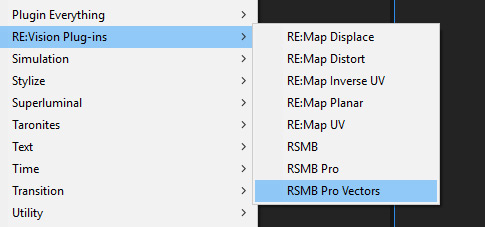
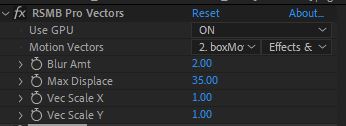
The first of three options. This one is automatic and uses calculations to guess at the motion blur per-frame. Pro Vectors also has a simple interface because it is relying on input from another image to drive the blur. The VRay Velocity Pass works well in this case.
VRay Velocity Pass Tips To Get Things Working:
- With any VRay Velocity Pass, it is important that it is rendered as EXR. I have rendered them as simple PNG, thinking it would work and save space, but it doesn't work. Even a PNG rendered as 48-bit does not work.
- Below On the Left: No Blur. In the middle: Incorrect blur due to the Velocity being rendered as 48-bit PNG. On the Right: Corrected blur, using same settings, but rendered as EXR.

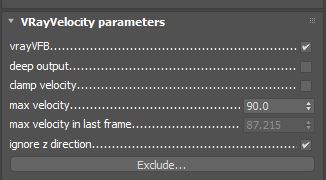
- In 3D package, go to the frame with the most movement and render it. Check to see what the Max Velocity in Last Frame is inside the VRayVelocity pass render settings. Set Max Velocity a little higher than that so there is headroom. Mine was 30, so i set Max Velocity at 35.
- Disable Clamp Velocity in VRay Velocity Pass Render Settings. Below is
an example of VRay Velocity settings with clamp disabled and Max Velocity set with a bit of overhead.
RSMB After Effects Tips To Get Things Working:
- Disable Color Management for the VRay Velocity Pass on Import.
- Use Premultiplied or Straight for the Alpha Import of the Velocity Pass, using Ignore will create edge artifacts.
From here, you should be seeing a proper blur directions and should have lots of control without waiting for tons of rendering. So have at it!
That's all for now. Hope this helps someone out. Back to work for me!

